
Wood Floor Sanding
Sanding is the part of refinishing that determines everything that follows.
- 5.0★★★★★85 Google reviews
- Since 2008
- 185 New Jersey towns
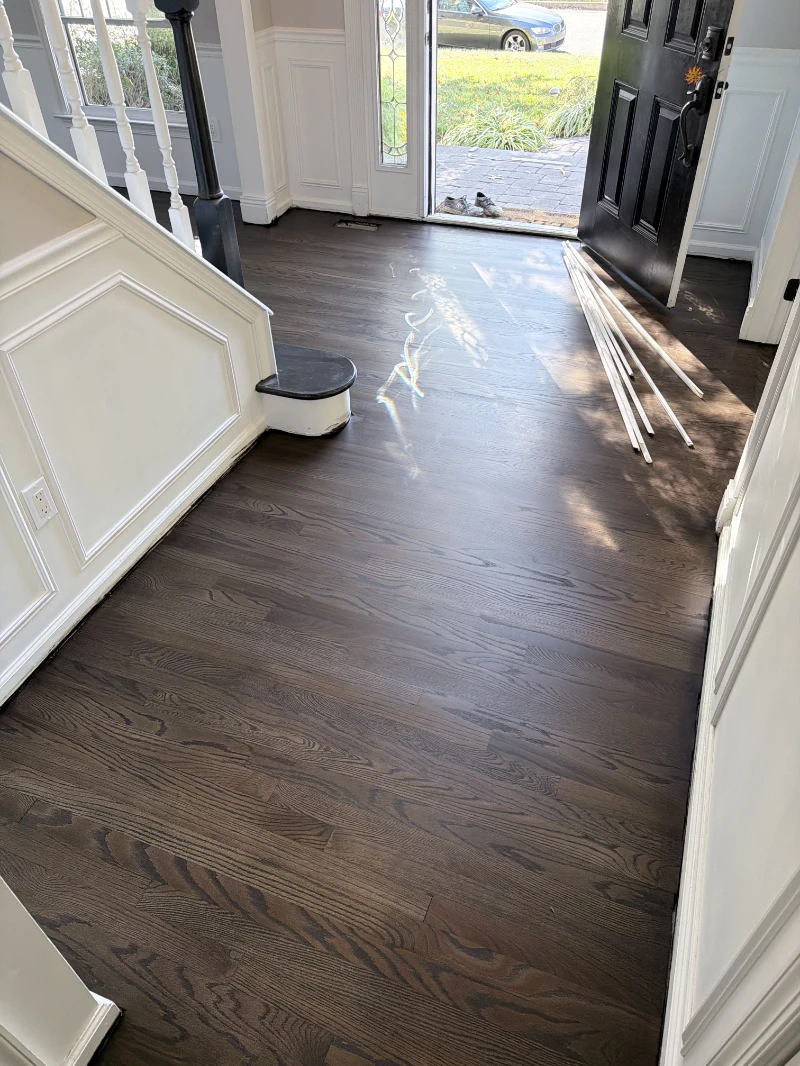
It levels the surface, removes the old finish and establishes the scratch pattern that the stain and finish will sit on. Finish is transparent — it does not hide sanding work, it reveals it.
Key facts
| Establishes | Flatness, scratch pattern, and how evenly stain will take |
|---|---|
| Equipment | Large machine for the field, edger for perimeters, hand tools for corners |
| Governed by | NWFA Wood Flooring Installation Guidelines |
| Common defect | Skipped grits, visible only after finish is applied |
Why the grit sequence cannot be shortened
Each grit removes the scratch pattern left by the previous one; skipping a step leaves scratches that finish will magnify rather than conceal.
The coarse pass does the work of removing finish and levelling. Every pass after that exists to erase the marks left by the pass before it.
A crew under schedule pressure saves time by dropping an intermediate grit. The result appears under raking light after the first coat, when the fix is to sand the floor again.
Edge work is where floors are judged
The large machine cannot reach perimeters, closets or corners, so those areas are cut with a different machine and blended into the field by hand.
A visible line where the edger work meets the field is the most common defect in a finished floor, and it is entirely a matter of care rather than equipment.
Rooms with radiators, built-ins and many closets carry far more edge work per square foot than an open room of the same area.
What sanding cannot fix
Sanding levels a surface; it does not correct movement, moisture or structural problems beneath the floor.
A floor that is cupped from moisture, springy from subfloor deflection, or separating at the seams has a problem below the surface. Sanding it flat treats the symptom and, in the case of cupping, creates a new problem once the boards equalize.
How VGJ Floors sands a wood floor
Inspect and measure
Check wear layer, fastener depth, board condition and moisture before any machine touches the floor.
Set nails and prepare
Countersink any proud fasteners that would tear an abrasive or gouge the floor.
Coarse cut
Remove the old finish and level the field.
Progress through grits
Work through the sequence without skipping, so each pass removes the previous scratch pattern.
Edge and corner
Cut perimeters, closets and corners, blending them into the field.
Final screen and inspect
Screen the whole floor and inspect under raking light before finishing.
Frequently asked questions
How flat should a sanded floor be?
Flat enough that finish reads evenly under raking light and there is no visible transition between the field and the perimeter. Perfect flatness is not achievable on an installed floor and is not the standard.
Why can I see swirl marks after finishing?
Swirls usually come from an abrasive that was too coarse for the final pass, or from a skipped grit. Finish makes them more visible, not less.
Does sanding remove pet stains?
Only if the stain is in the finish or the top fraction of the wood. Urine that penetrated deep, particularly the dark tannin reaction, usually requires board replacement.
Can you sand a floor with old adhesive on it?
It depends on the adhesive. Some load and clog abrasives badly enough that a different removal method is needed first.
How much wood does sanding remove?
Only what is needed to reach clean, level wood. The goal on every pass is the minimum removal that achieves a uniform surface, because wear layer is finite.
Get this quoted properly
We take moisture readings and check wear layer before putting a number on the job — so the quote matches what your floor can support.
Request a free estimate