
Floor Staining & Colour Matching
Stain colours bare wood before the finish goes on. How a colour actually lands depends on the species, the age of the wood and how the floor was sanded — which is why colour is chosen by testing on your own floor rather than from a sample board finished on someone else's oak.
- 5.0★★★★★85 Google reviews
- Since 2008
- 185 New Jersey towns
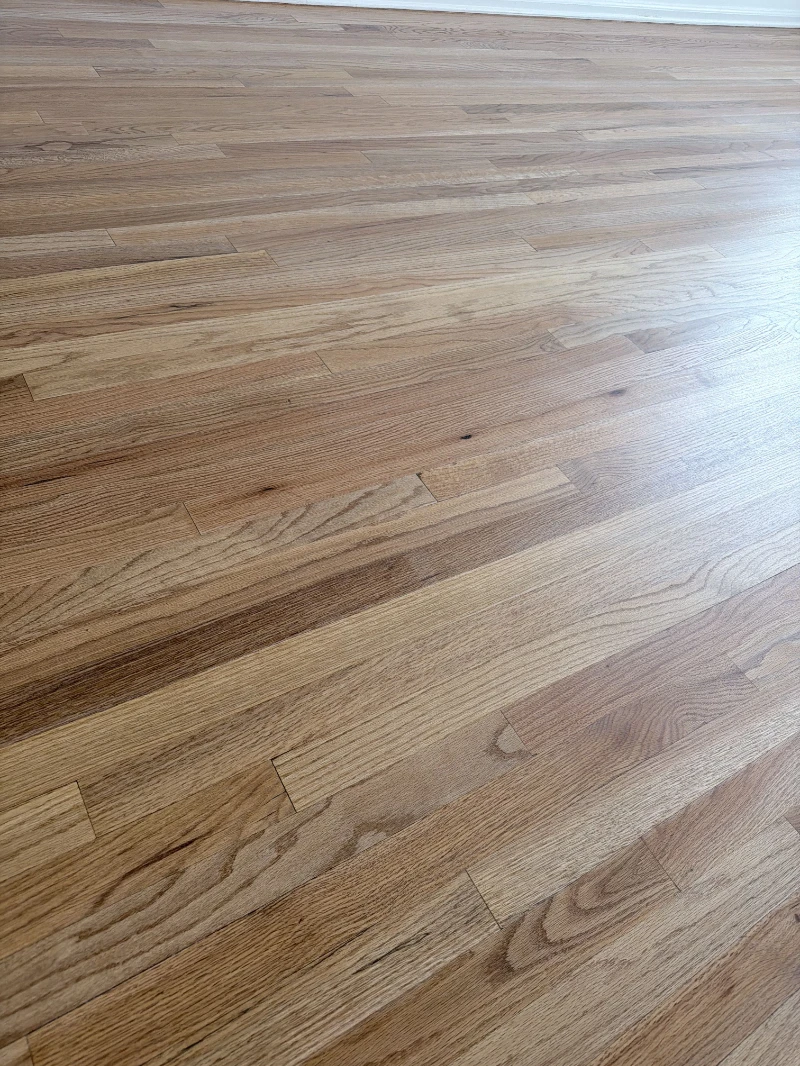
Key facts
| Applied to | Bare wood, after sanding and before finish coats |
|---|---|
| Colour depends on | Species, wood age, sanding grit, and application method |
| Red oak | Open-pored, takes stain readily, tends warm |
| White oak | Denser and more neutral, common for light and reactive finishes |
| Reversible? | Only by sanding back to bare wood again |
Why the sample board lies
A stain sample was made on a different piece of wood, of a different age, sanded to a different grit — three variables that all change the result.
Red oak and white oak take the same stain differently. A hundred-year-old floor takes it differently from new material. And the final sanding grit changes how much stain the wood accepts, because a finer surface absorbs less.
The only reliable test is on your floor, in your light, after your floor has been sanded. We put down test areas and look at them at different times of day before committing.
The finish changes the colour too
Oil-modified polyurethane adds amber and keeps ambering with age; waterborne finish holds the colour where it is.
This catches people who chose a cool grey or a light natural tone and then had it finished with an ambering product. The stain was right; the finish moved it.
If the colour target is light or neutral, the finish has to be chosen alongside the stain, not after it.
Even colour depends on even sanding
Stain is a diagnostic for sanding: it collects in any scratch or swirl the sanding left behind and makes it obvious.
A floor that would have looked acceptable with a clear finish can look badly blotchy once stain is applied. Dark colours are the least forgiving of all.
How VGJ Floors stains a wood floor
Complete sanding
Finish the full grit sequence, because stain will expose any scratch left behind.
Test on the actual floor
Apply candidate colours to test areas of the sanded floor and review them in daylight and in artificial light.
Choose finish alongside colour
Confirm whether the finish system will amber the colour or hold it as tested.
Apply stain evenly
Work the colour consistently across the floor, keeping a wet edge to avoid lap marks.
Allow full dry before coating
Let the stain dry per the manufacturer's schedule before any finish is applied.
Frequently asked questions
Can you match my new floor to my existing floor?
Usually closely, though an exact match depends on species and age. We test on the actual floors rather than working from samples.
Why did my stain come out blotchy?
Almost always uneven sanding. Stain accumulates in scratches and swirls left by the abrasive, which makes them visible.
Can I go grey or very light on red oak?
Red oak's warm undertone pushes back against cool greys, so the result differs from the same product on white oak. Testing on your floor is the only way to see it.
Will the colour change over time?
The stain itself is stable, but an oil-modified finish over it will amber with age. A waterborne finish keeps the colour closer to how it looked on day one.
Can I change my floor colour without sanding?
No. Stain has to reach bare wood, so a colour change requires sanding the existing finish off.
Get this quoted properly
We take moisture readings and check wear layer before putting a number on the job — so the quote matches what your floor can support.
Request a free estimate